Weathering vectors with the pathfinder tool is great for logos and lettering projects, but it can be way too clunky when trying to texturize large illustrations. Exporting your illustrations into Photoshop and adding textures is a solution, but it doesn’t allow for easily-made edits to the initial illustration. Here’s a super quick and easy way to add textures to your vector files in Illustrator, allowing you the freedom to edit your image during the whole process.
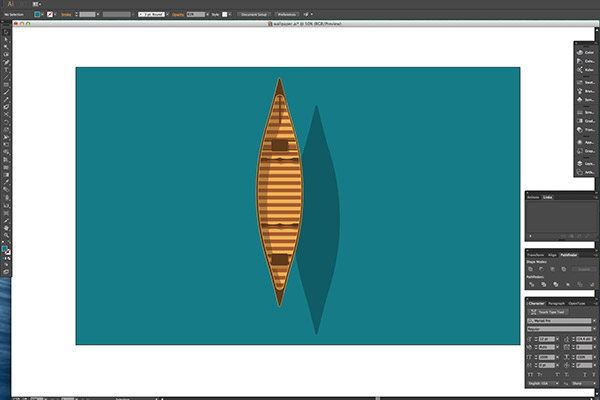
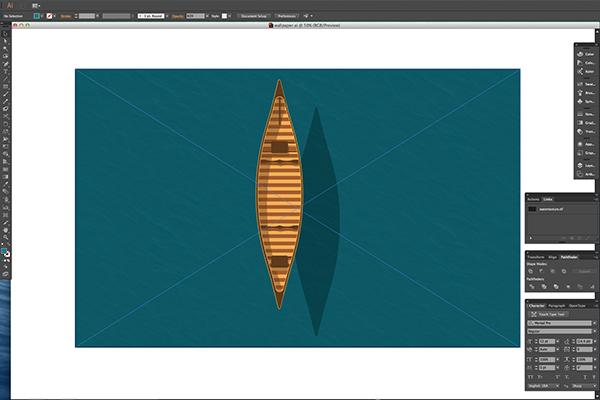
Above is an illustration of a canoe I’ve been working on. I’m pretty happy with how it looks at the moment, but I want to add some texture to the water. Before we start we’re going to need to find a suitable image; I’ve grabbed an ocean pattern from the good people over at The Pattern Library.
1. Open your texture image in Photoshop. Now, depending on the image you’ve selected, you may have to do a bit of touching up. Do this now using whatever retouching techniques you prefer – for example, clone stamping, patch tool, etc.
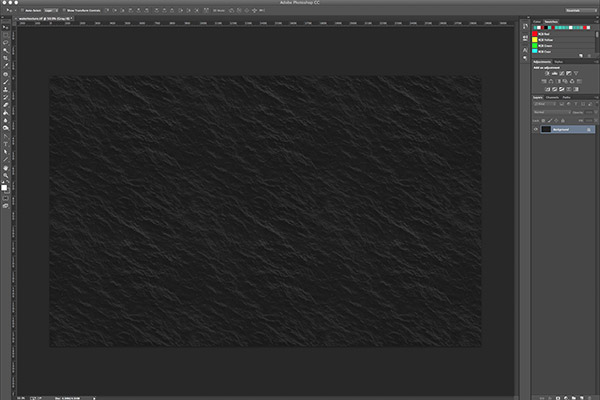
2. Change the image’s colour space to Grayscale by going to your top toolbar in Photoshop and selecting Image > Mode > Grayscale. This deletes all the colour data and leaves you with a nice monotone image.
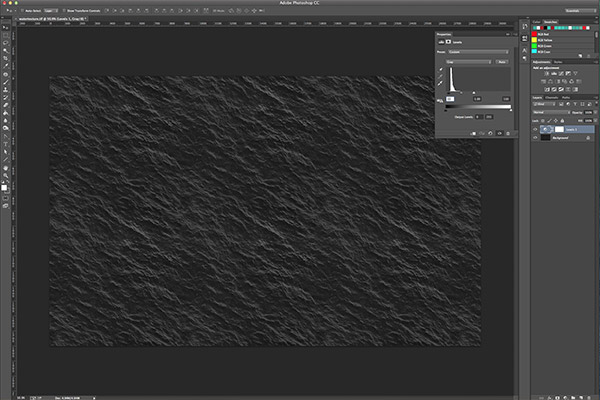
3. To get the most pop out of your texture, add a new Levels adjustment layer (Layer > New Adjustment Layer > Levels) and bring the sliders in to really increase the contrast of the image. Increase or decrease the contrast until you’re happy with the result.
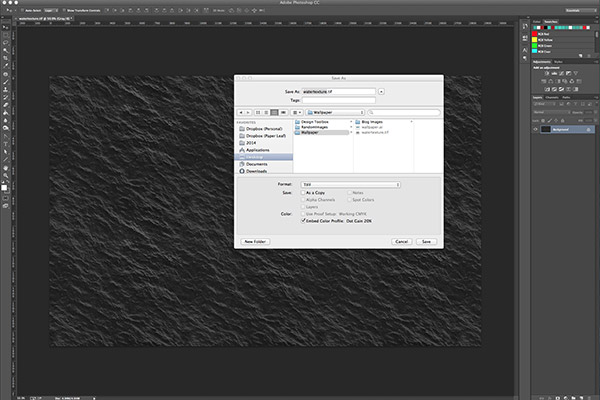
4. Once you’re satisfied with your image, crop it to the size and resolution required for your output. Since I’ll be using this for a desktop wallpaper I’ll save it at 2800px x 1800px at 72dpi.
5. Now here’s the important part. Merge your layers and save as a tiff. This will allow you to change the colour of your texture in Illustrator without having to edit the original file in Photoshop.
6. Head back over to Illustrator and place your texture onto your artboard. You’ll notice when you select your texture in Illustrator that the fill swatch is black instead of having a question mark. That’s right – you can change the colour of your texture simply by changing the colour of the fill in Illustrator, just like you change the colour of a vector shape. Amazing! Change the texture’s blend mode to Multiply and adjust the opacity until you’re happy.
Adobe’s Creative Suite is a great tool, but the each piece of software is so huge that great little tricks like this are hard to uncover. Hopefully you’ll be able to use this in your next project – and if you have any great little Illustrator & Photoshop tips, let us know on Twitter!