
If you're looking to hire a development firm to build you a mobile or web app, this Quick Reference Guide is a must-have.
Design systems are common to most large organizations, or at least they should be. A quick Google search will bring you to multiple articles about why your business will burn to the ground if you don’t have a design system in place, but in this article, we’re going to focus on the realities of implementing a design system. The question today is not “what is a design system?” but “how do I adopt one?”
Burn to the Ground? Really?
Okay so maybe not burn to the ground, but it’s important to understand that every organization with multiple product contributors will eventually need something to help ensure that the work they do is consistently executed. For small organizations, this is usually some sort of Creative Director or Development Lead who is responsible for articulating the company’s vision and/or technical strategy. However, eventually, one person isn’t enough to keep all the little design and dev ducks in a row.
Design systems are a set of reusable components, patterns, guidelines, and standards that we implement to act in place of a director as a single source of truth for an organization’s product teams. The fact of the matter is that it doesn’t matter how brilliant your design, development, or content teams are; unless they’re sitting on top of each other in the office (now we’ve put that image in your head), they are human and they will make different decisions about how a product should be executed if standards are not in place. If you expect your products to remain consistent throughout your organization, you need to provide guidance and support to the people of your organization.
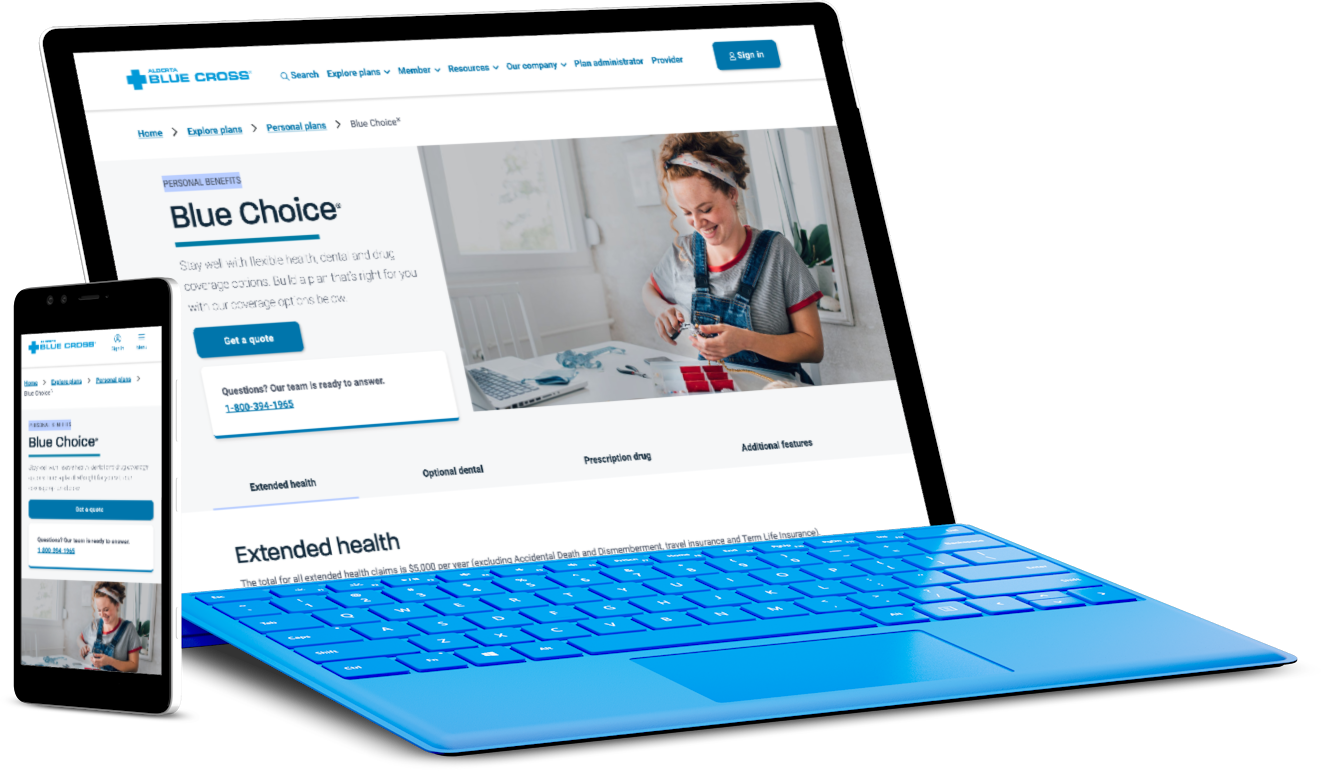
A Design System for Alberta Blue Cross®
Recently Paper Leaf partnered with Alberta Blue Cross® to support them in implementing a large-scale design system that would eventually serve over 300+ employees.
“We knew that we needed a design system,” says Shaista Ali, the COE manager, digital experience with Alberta Blue Cross®. “We also knew we didn’t have the capacity to tackle it alone. We have exceptional designers, developers and digital strategists, but these folks are always fully resourced to ongoing projects.”
Alberta Blue Cross® wanted an outside perspective and industry expertise. The Paper Leaf team was composed of designers with experience building and working on a variety of products across industries.
“We knew they wouldn’t be biased towards existing products at Alberta Blue Cross®. Working with Paper Leaf provided us access to a robust team with experience in product strategy, design, and development, and gave us the opportunity to build maturity in our own team as we worked together.”
Step 1: Know Your Limitations and Capacity
The first step you need to take is determining the scale of what you need in a design system, and deciding if your internal team has the capacity to carry it out. A small shop with one or two designers doesn’t have the same communication challenges a large organization has, so the effort of implementing a full-scale design system may outweigh the benefits.
If you’re not sure, take a moment to think about the following:
- How large is your product team? Are they able to chat daily about the products/features they are producing, or do they need to be able to execute independently from one another?
- How many products do you have, and how complex are they?
- Where does your team go when they have questions about their work? Who decides if something is acceptable for launch? If your answer is to name a single person, how stressed does that person look right now?
This is where external support can be beneficial to not only get the research done quickly but ensure that the decisions made are objective.
Research is key
Don’t sleep on the importance of research! In the first phases of our project with Alberta Blue Cross®, our research was extensive. We interviewed nine different teams, performed competitor research, audited and tested key products, and developed technical strategies, rollout approaches, and governance models.
By the end of discovery we had a big pile of research and an even bigger pile of challenges the Alberta Blue Cross® teams were experiencing. This part is often forgotten, and as an unbiased partner, we are able to complete research objectively to deliver as much value to the organization as possible.
Step 2: Build Something Useful
When we say useful, we mean a practical tool that answers the challenges you uncovered during your research phase. For some, a well-crafted user interface kit will be enough when you’re just starting out, and for others, a more robust tool is called for.
For Alberta Blue Cross® we needed an accessible and scalable tool that would not only demonstrate how the brand should be applied, but how components should function. We customized the open-source platform Storybook to create an online hub for the Alberta Blue Cross® system, along with a robust Figma component library that their designers and UX strategists could use to create quick and consistent product mockups.
Every component was coded and deployed to a sandbox environment so that teams can interact with and test the components as needed. Storybook also provided us with a clean way to display supporting documentation.

The design and build phase was a true collaboration between the Paper Leaf and Alberta Blue Cross® Design teams. Unlike typical product builds, part of our consultancy not only included executing on the framework for the system but supporting Alberta Blue Cross® in learning how to manage it independently.
Step 3: Roll It Out
Once you’ve got your system built comes the hard part, getting your organization to accept change! 😱 The amount of process change required will differ from company to company, but it’s completely reasonable to expect at least a small amount of pushback when messing with someone’s established workflow.
Your team will have questions about how the design system will impact their roles, and what will be expected of them, so a well-thought-out change management strategy will be key. Here are a few of the things you should consider to help your team get to know their new design system friend:
- Assemble Your Champions. Gather a team of system advocates that will be responsible for engaging, training, and supporting others. This team should be a cross-functional hype squad, reflective of different departments throughout the organization, from those with the power to say yes to budgets, to those with the technical knowledge to build and maintain the system.
- Solidify Communication Plans. An email is not enough! Create a plan to communicate the launch of the design system so that your teams know what to expect. Announce that the design system is coming about two months before you launch, send regular updates and reminders and schedule touchpoints for gathering feedback and hearing concerns.
- Define a Phased Approach. You can’t do everything all at once. Phase the launch and use of the system by having:
- A schedule or timeline for piloting and onboarding. It should outline which teams will be introduced to the system first and when, and which projects will utilize the new system and when.
- Training plans! Tailor these training sessions to the different teams receiving them. Define exactly what will be offered, the formats of the training, and what support materials will be delivered.
- A pilot test. Identify a specific team to be fully onboarded onto the system and to complete a project that spans the design, development, and QA process in full. Use this test to refine your training plans before onboarding more teams.
- Define Feedback and Support Mechanisms. Establish a support system for addressing user questions, issues, or concerns. Identify who will be responsible for triaging incoming requests/feedback and which adoption team members will be responsible for responding or providing support.
- Monitor and Evaluate. Use tools like employee surveys, AMAs*, and anonymous feedback to evaluate the overall effectiveness of the system and the company sentiment towards it. Use this feedback to make necessary adjustments and improve user experience, and most of all ensure your team members feel heard and considered.
- Celebrate Success! Recognize and celebrate milestones and successes throughout the rollout to boost morale and encourage staff to embrace the new tool!
*AMA = Ask Me Anything
Step 4: Lay Down the Law!
AKA Governance Models
You should be starting to develop your governance plans during your research and discovery phase since “those who fail to plan, plan to fail” and all that, but blog articles like ordered lists so here we are. There are four stages of design maturity, and stage three is called “surviving the teenage years” for a reason. It is when the acne usually emerges and your patience is really put to the test.
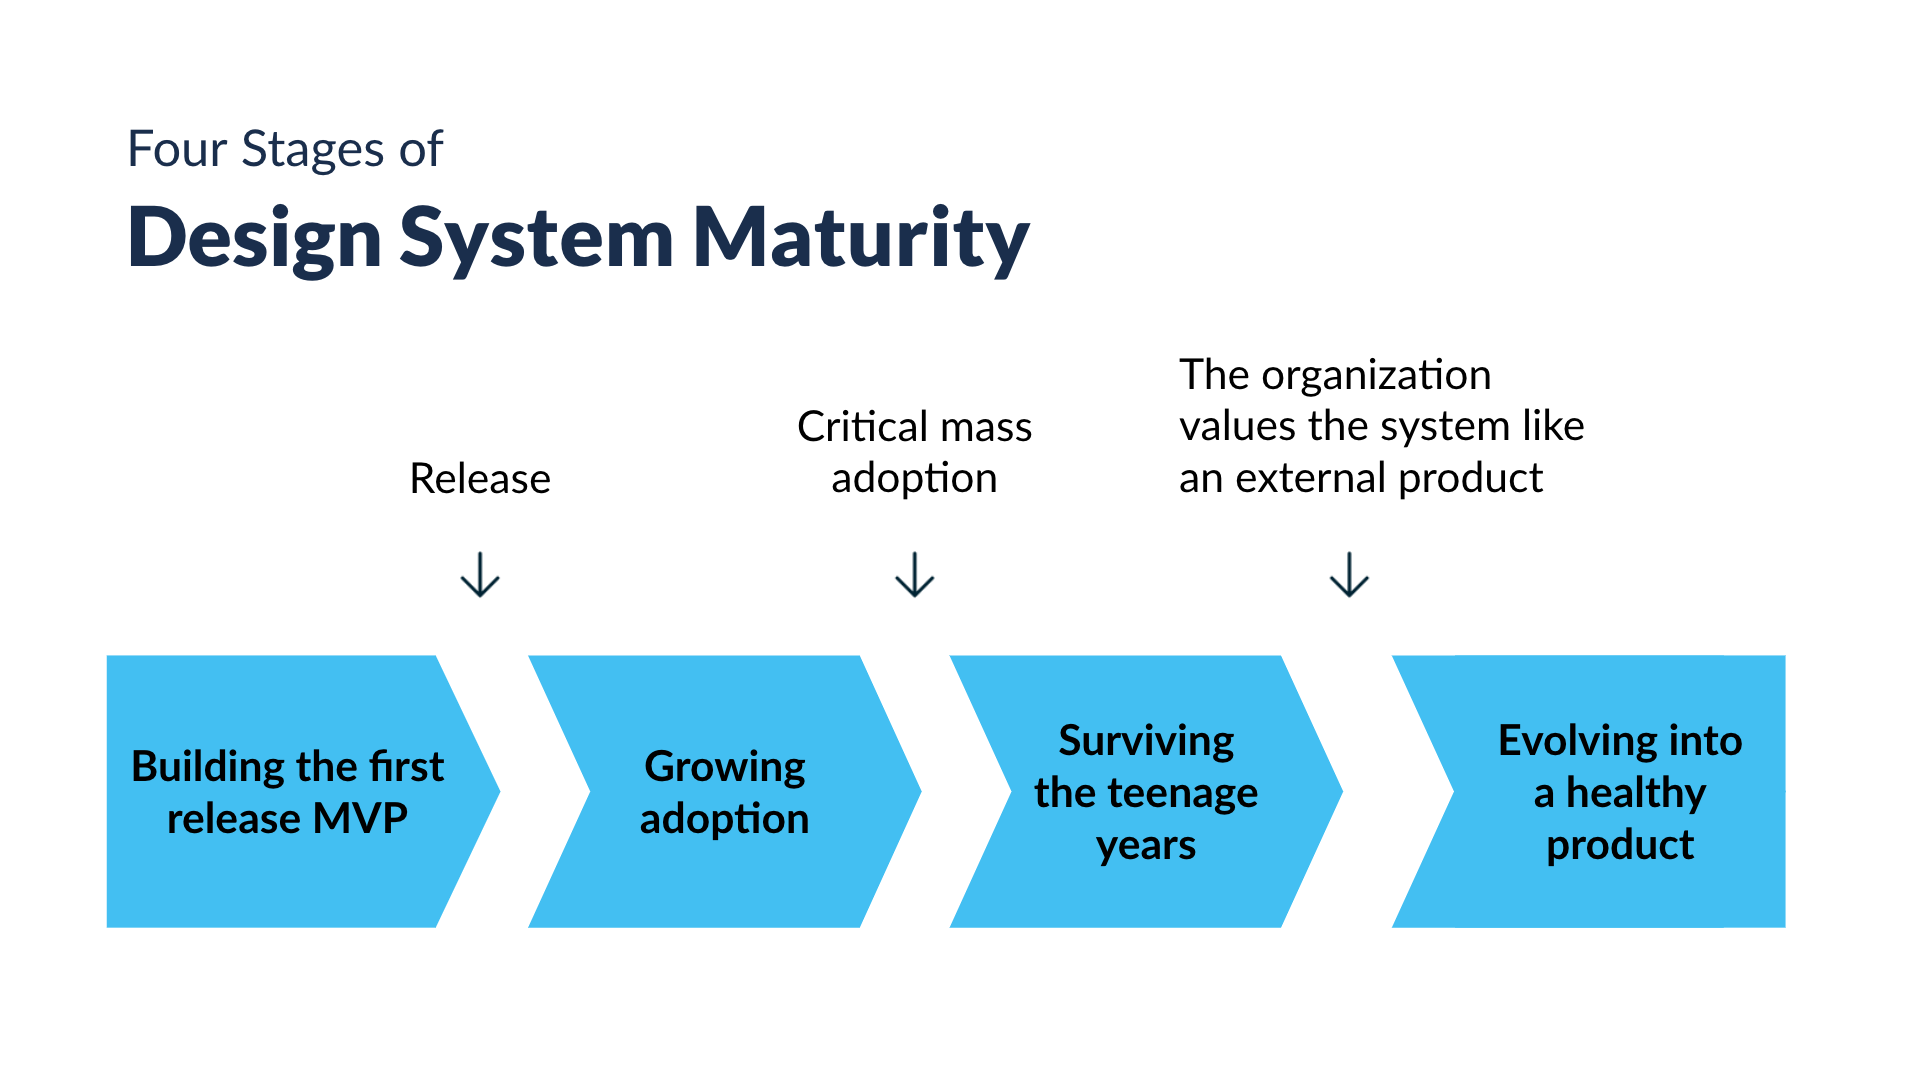
A governance model is what will keep your design system healthy and your team happy as you all navigate DS puberty and reach successful mass adoption with a system that’s all grown up and continuing to evolve over time.
Here are some ideas to consider:
- Establish a Design System Team. This team will receive feedback and decide on the evolution of the system and its processes. They will collaborate on decisions, define change requirements, and identify relevant invested parties throughout the organization to be involved when implementing new changes.
- Compliance and Enforcement is Everyone’s Responsibility. Rather than holding a big rule book over the heads of all of your teams, work to incorporate adherence to the design system into individual teams’ regular QA processes from the get-go.
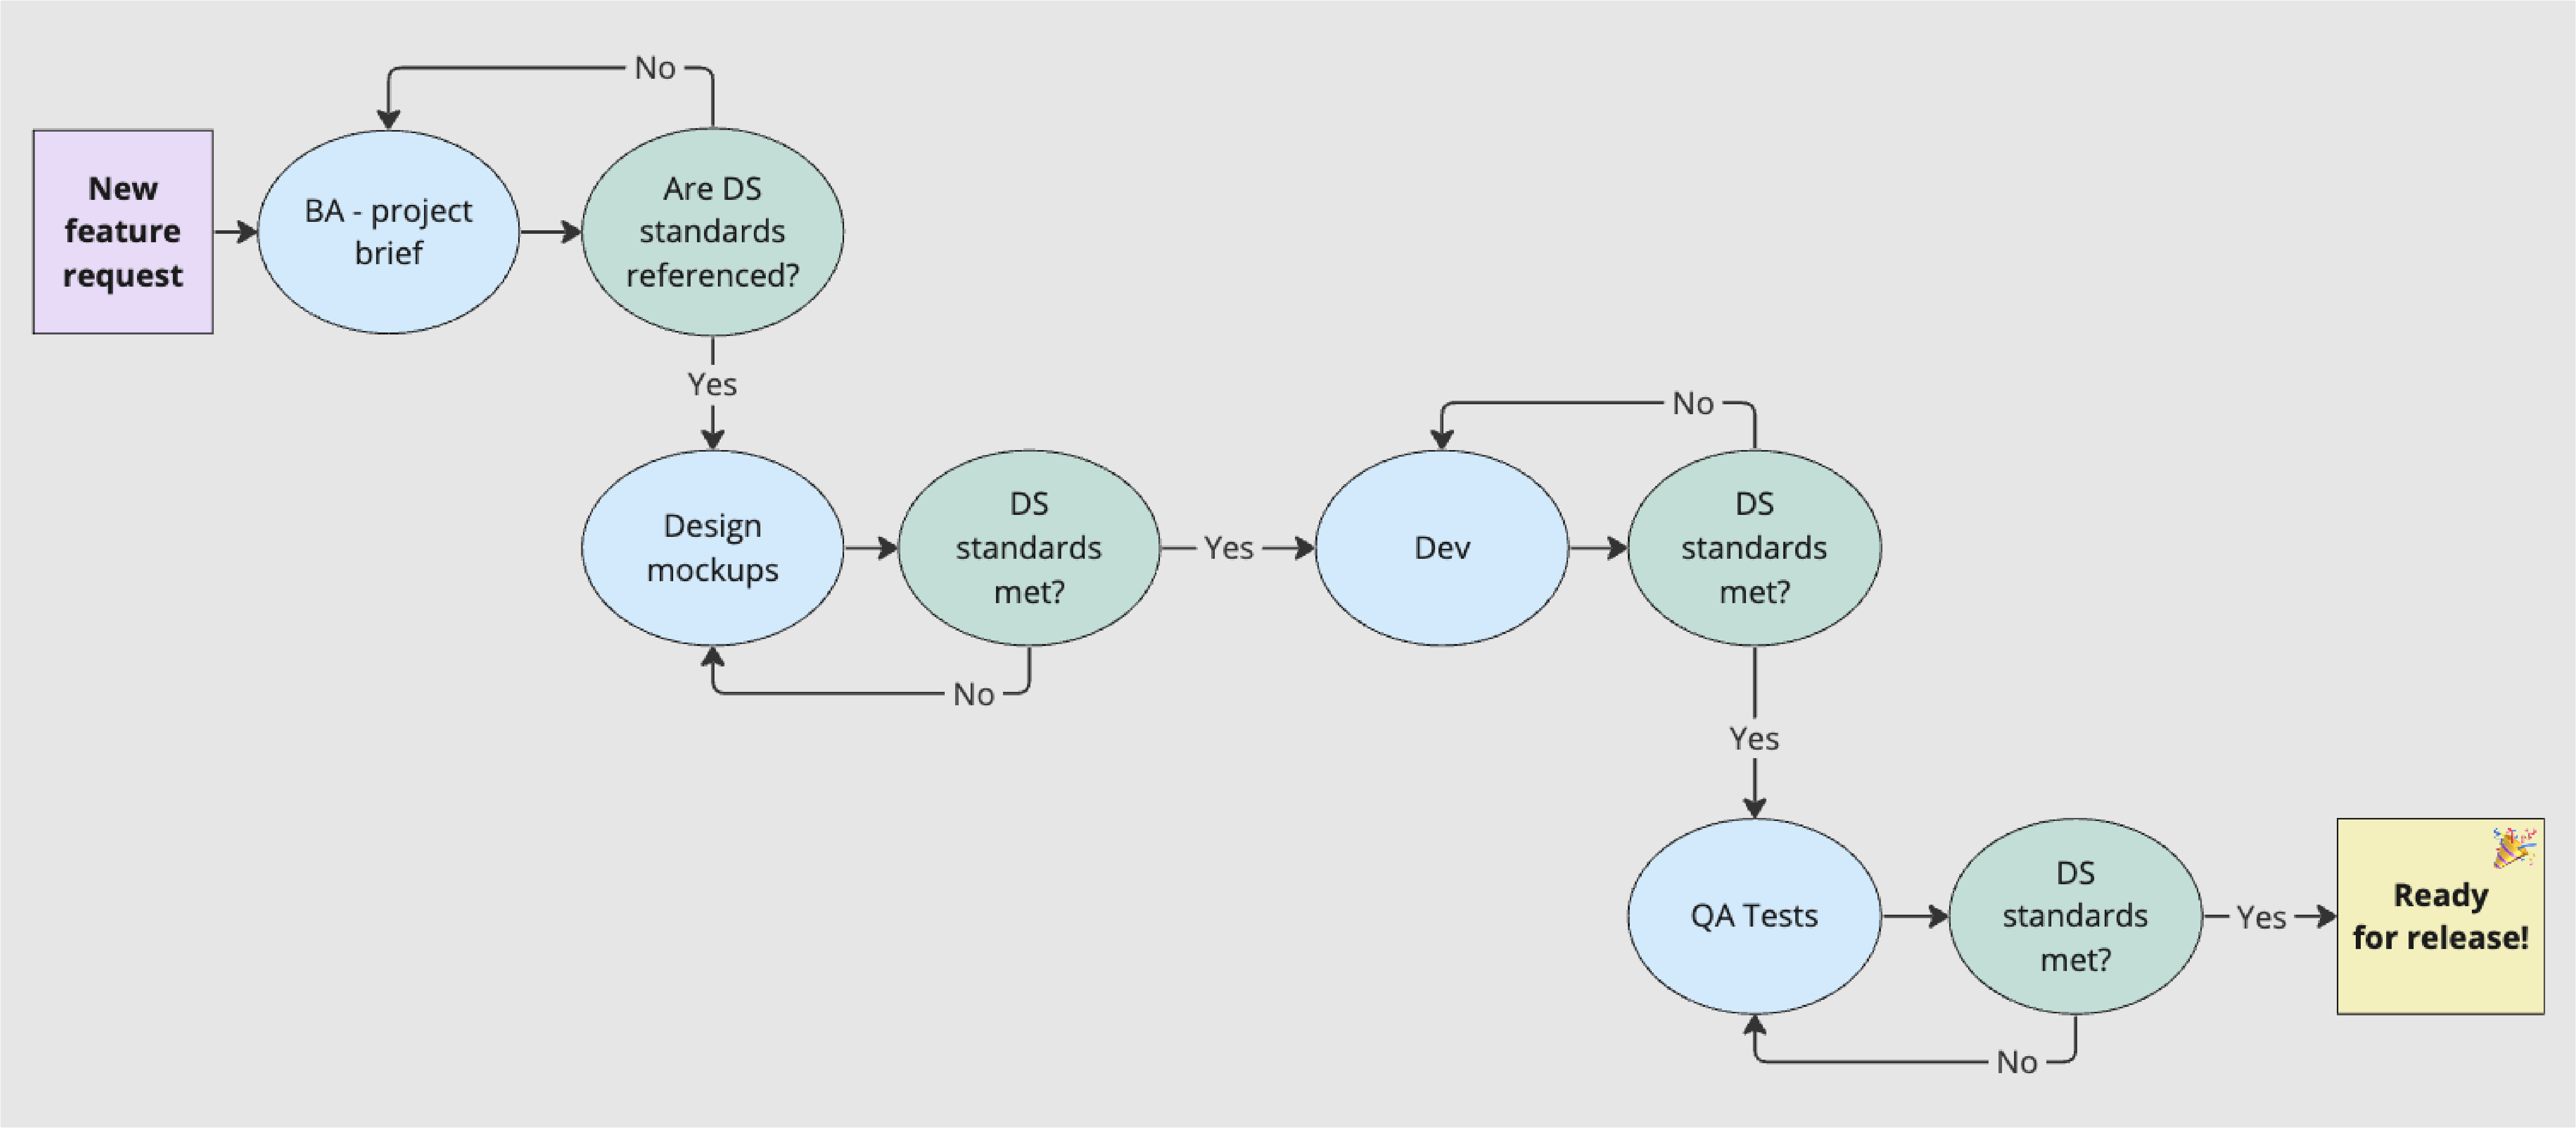
*Example: A visual flow of how checkpoints for project briefs, design elements, code reviews and QA are incorporated into the review process - Create Contribution Guidelines and Feedback. Establish a framework that allows for all team members to contribute to the design system; this will emphasize transparency and increase collaboration. This should include how to submit an idea, suggestions, feedback, and who to talk to about ideas.
- Establish a Roadmap. Knowing what’s coming up around the next turn is key to allowing teams to prepare and comfortably adapt to changes. A well-communicated roadmap supports collaboration, fosters understanding, and ensures transparency around the evolution of the design system.
In Summary
Just in case you scrolled to the bottom without reading the whole article, here is the summary:
- Figure Out the Scale! We can help you determine where the friction points are, and create a plan for a design system before you commit to implementing one. The best decisions are made when armed with knowledge, so a discovery is always a great place to start.
- Build Something Useful. Every design system is going to be different depending on the needs of the organization. Your tools, processes, and the content you include in your system should all be defined by the people the design system is crafted to serve. You can use prioritization tactics such as the MoSCoW method to help identify what your minimum viable product looks like, and then scale up slowly from there in future phases.
- Have a Roll out Plan in Place. Staff buy-in can make or break a design system, so finding your champions and preparing schedules, training plans and methods for gathering feedback will ensure that everyone within the organization who is impacted by the design system will feel supported and eager to see the system succeed. Transparency and inclusion is key, so provide frequent updates and listen closely to the feedback you receive; it won’t all be good, but it’ll all be valuable.
- Create a Governance Model. A design system is practically a living, breathing thing, and if you don’t prepare to support it and help it thrive, then you’ve already accepted defeat. A governance model is what will allow you to shepherd your design system through the phases of maturity and help it grow up big and strong! Arm your design system team with compliance standards, a system for communicating with the rest of the organization for feedback and requests, and roadmaps that demonstrate just how bright the future will be.
The Final Word?
Design Systems Take a Lot of Effort.
A lot of work to implement? Yes. Worth it though? Definitely. Design systems may require a bit of sweat and tears to implement, but once you have one in place, they make product updates faster and more efficient and foster creativity by eliminating guesswork when it comes to base components.
Curious about design systems or have experiences to share? We’d love to hear from you.
Connect with us below, and let’s explore how to create a more cohesive and efficient design process together.